Company News
How Do You Select a Machine Vision Camera for Pharmaceutical Inspection?
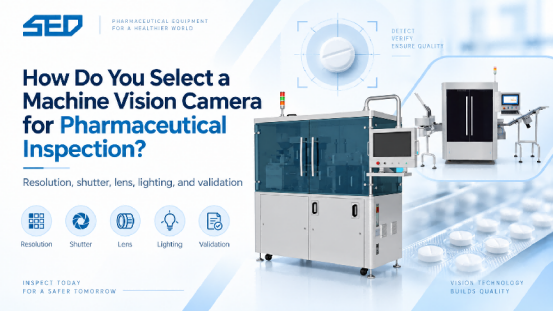
Select the camera from the defect you must see, the product motion, and the available field of view. A useful specification starts with the smallest feature, calculates the required pixel resolution, then checks shutter type, lens, lighting, trigger timing, data interface, and validation needs. A high pixel count alone cannot correct motion blur, glare, poor contrast, or a lens that does not resolve the feature.
For pharmaceutical inspection, define the inspection object first: tablets or capsules, vial body and neck, printed code, or a sealed blister. Record the product dimensions, surface finish, defect list, line speed, indexing method, working distance, and whether the camera must inspect one face or a full surface. These inputs prevent a camera specification from being separated from the optical and mechanical design.
Start with the inspection task
Camera selection changes with the task. Area-scan cameras capture a complete frame and suit indexed tablets, capsules, vials, and blister pockets. Line-scan cameras build an image line by line as a web or continuously moving product passes the sensor. A 3D camera is relevant only when height, depth, or three-dimensional position is part of the acceptance decision. For a rotating vial or capsule, several views or a controlled rotation may be more practical than forcing one camera to see every surface.
Color and monochrome are also task decisions. Monochrome is often sufficient for shape, contour, foreign-particle contrast, and seal boundaries. Color can help when the decision depends on hue or printed color variation. Test the actual formulation, coating, capsule shell, foil, and background under production lighting; transparent and glossy materials can change contrast dramatically.
Calculate resolution from field of view and defect size
Field of view (FOV) is the physical area captured by the camera. Pixel resolution is the physical size represented by one pixel. A first sizing check is: required pixels across the relevant FOV = FOV dimension / smallest feature size × 2. Two pixels is a theoretical sampling floor, not an inspection acceptance criterion. The required margin must be demonstrated with representative good and defect samples because contrast, focus, optics, lighting, and algorithm thresholds also affect detection.
Example: if a 60 mm horizontal FOV must reveal a 0.20 mm feature, the minimum sampling estimate is 60 / 0.20 × 2 = 600 horizontal pixels. A camera with more pixels may be appropriate after allowing for cropping, calibration, defect orientation, and the lens transfer limit. If the FOV is widened without increasing sensor resolution, each pixel covers more millimeters and small defects become harder to separate.
Use the smallest feature that the inspection specification actually requires, not the product diameter. For a blister, that may be a print stroke, a pinhole indication, or a small foreign particle. For a tablet, it may be a chip edge or dark spot. Record the feature size and contrast in the test protocol so the final camera choice can be verified with representative samples.
Technical reference: NI Vision Image Acquisition System Concepts
| Input | What to record | Why it changes the camera |
|---|---|---|
| Smallest feature | mm or µm, with contrast and orientation | Sets pixel sampling and practical detection margin |
| FOV | Width and height of the complete inspection area | Sets pixel density and lens magnification |
| Product motion | Indexed, continuous, rotating, or variable | Determines area/line scan and shutter requirements |
| Working distance | Camera-to-object distance and available space | Constrains focal length, depth of field, and mounting |
| Surface and color | Gloss, transparency, coating, foil, print | Guides sensor type, filters, and lighting tests |
Match shutter and frame rate to product speed
Moving products need exposure control. A global shutter exposes the sensor at the same time and avoids the skew that can occur when rows are exposed sequentially. Rolling shutter may be acceptable for stationary or slow, carefully tested scenes, but it is a risk for fast conveyors, rotating containers, or a reject decision tied to a precise position. A short exposure may require a stronger light or a strobe. Calculate the trigger-to-image-to-reject timing as one system, not as a camera-only number.
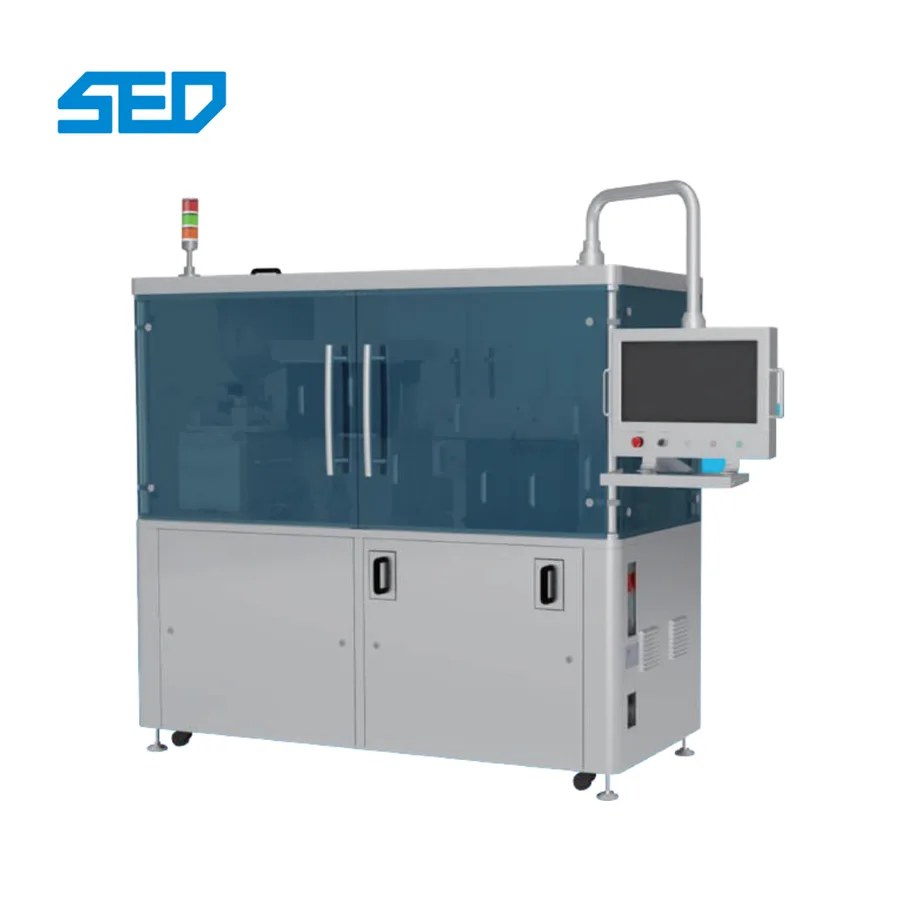
Frame rate must cover the inspection rate with processing and communication margin. For an indexed station, confirm that the camera can acquire after the product settles and before the next index. For continuous motion, line rate must match conveyor speed and the required vertical sampling. Ask the integrator to demonstrate the worst-case speed, not only a nominal laboratory cycle. For a tablet visual inspection system, confirm how the required views per tablet affect image acquisition, processing time, and tracking to the reject station at the intended throughput.
Choose the lens with the camera
The lens determines how the sensor sees the FOV. Specify FOV and working distance together, then check sensor format, focal length, distortion, depth of field, close-focus capability, and optical resolution. A high-resolution sensor paired with a lens that cannot resolve the target detail produces a large image of insufficient information. Keep the camera as perpendicular as the mechanics allow to reduce perspective error; use calibration when the installation cannot be square to the inspection plane.
Depth of field matters when tablets vary in height, capsules roll, or a vial neck and body must remain sharp. A smaller aperture can increase depth of field but reduces light, so the lighting plan and lens aperture must be tested as a pair. For dimensional checks, low distortion and stable magnification are more important than simply adding megapixels.
Design lighting before approving the camera
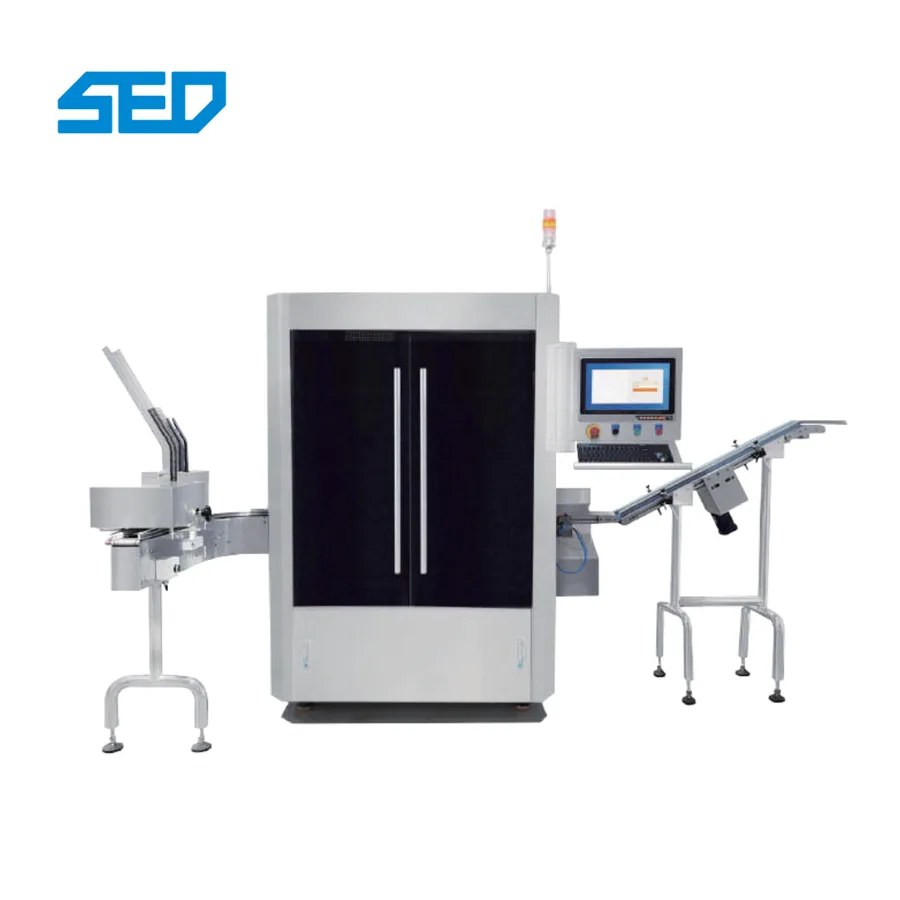
Lighting creates the contrast that the algorithm measures. Backlighting can outline a tablet, capsule, or container profile. Diffuse or dome lighting can reduce glare on curved or reflective surfaces. Low-angle light can reveal scratches or raised contamination, while coaxial or controlled directional light can support flat print and surface checks. Transparent capsules, glossy coatings, and aluminum foil often need several tested lighting geometries rather than one generic ring light. When evaluating a blister pack inspection machine, use representative packs to test whether the proposed lighting reveals the specified defect without confusing normal foil reflections or print variation with a reject condition.
Lock the exposure, gain, light intensity, and working distance during acceptance testing. If automatic camera settings remain active, a change in product color or ambient light can move the pass/fail boundary. Include clean, acceptable samples and known defect samples at the edge of the specification, and measure false rejects as well as missed defects.
Check integration, data, and validation requirements
The camera should expose a usable image to the inspection software and line controls. Confirm trigger signals, encoder input when required, interface bandwidth, image transfer time, PLC communication, reject tracking, and storage of images or result records. For GMP-regulated operations, define user access, audit-trail expectations, recipe control, electronic records, and the evidence needed for IQ, OQ, and PQ with the quality team before purchase. Where inspection records are required under applicable predicate rules and are maintained or relied on electronically, assess the applicable FDA 21 CFR Part 11 controls. For EU-regulated operations, align computerized-system controls with the current site interpretation of EU GMP Annex 11.
Regulatory references: FDA Part 11 guidance | European Commission EudraLex Volume 4 Annex 11
Do not treat a supplier brochure speed or accuracy claim as a validated result. Request a sample-based FAT using the actual dosage form, packaging material, defect library, and production speed. The acceptance protocol should state the field of view, smallest tested feature, lighting, camera settings, sample count, missed-detection method, false-reject method, and reject confirmation. Any parameter range that depends on formulation, machine layout, or validation must be confirmed by the project engineer.
A practical selection sequence
- Define the defect decision and the smallest feature that must be detected.
- Measure the complete FOV, product motion, working distance, and available mounting space.
- Calculate pixel sampling, then select a sensor with margin for cropping and optics.
- Choose area scan, line scan, or 3D from the motion and measurement task.
- Match global or rolling shutter, exposure, frame or line rate, trigger, and strobe timing.
- Select the lens and lighting together, then test real product and defect samples.
- Verify interface, reject timing, records, recipe control, and validation documentation.
- Freeze the acceptance criteria in FAT and repeat the critical checks at site acceptance.
When a camera specification is not enough
If the image is unstable, first separate the symptom from the cause. Blur points to motion, exposure, trigger, or vibration. Missing small defects points to pixel sampling, focus, lens resolution, contrast, or algorithm thresholds. Glare points to lighting geometry, surface finish, polarization, or camera angle. Misplaced rejects point to encoder, latency, or tracking. Change one controlled factor at a time under the approved SOP and retain the evidence.
SED Pharma supplies visual inspection equipment for tablets, capsules, vials, and blister packs, but the correct configuration depends on the product and line conditions. Its visual inspection equipment resources can help match a camera-based inspection station to the dosage form and throughput.
Conclusion
A reliable machine vision camera selection guide begins with the inspection feature and ends with a verified image-and-reject result. Match FOV and resolution first, then confirm motion, shutter, lens, lighting, processing, and validation evidence on representative pharmaceutical samples. This sequence prevents over-specifying pixels while leaving the real failure mode in optics, illumination, timing, or integration.
Related SED Pharma resources
- Visual inspection equipment
- High-Speed 360° Tablet Visual Inspection System
- Fully Automatic Blister Pack Inspection Machine
- How Blister Pack Visual Inspection Systems Improve Pharmaceutical Quality
- Tablet and Capsule Inspection Equipment What You Must Know Before Buying
- How to Build a Complete Pharmaceutical Production Line for Tablets and Capsules
Discuss your inspection requirement
Send product photos, defect examples, smallest feature, FOV, line speed, working distance, and current settings for a configuration review. Submit the equipment brief to SED Pharma.